DIY Upcycled Furniture Projects for Beginners

Finding the Perfect Piece to Upcycle

Arrive early at thrift stores, scan curb alerts on community apps, and ask family about forgotten pieces. Look for solid wood, simple lines, and sturdy frames. Snap photos, measure twice, and negotiate kindly.

Setting Up Your Beginner Workspace

Essential Tools Only

Begin with a sanding block, basic screwdrivers, a drill-driver, wood glue, clamps, putty, a paintbrush set, and painter’s tape. Add a drop cloth, measuring tape, and a small square for accurate alignment.

Safety First, Always

Wear safety glasses, a dust mask or respirator, and gloves when sanding or handling chemicals. Ventilate the room, test for lead on older pieces, and keep a small first-aid kit within easy reach.

Crate Coffee Table with Hidden Storage

Arrange four wooden crates into a square, add caster wheels, and secure with screws and glue. Sand splinters, stain or paint, and finish with a protective coat. The open centers hide blankets, books, and remotes.

Color-Dipped Chair Refresh

Lightly sand a thrifted chair, tape off the bottom of the legs, and paint with a playful color for a dipped look. Finish the seat with a natural tone. Simple, cheerful, instantly transformative.

Drawer-to-Wall-Shelf Transformation

Rescue a single drawer, remove hardware, fill holes, and paint the interior. Add picture hangers and a small cleat for support. Style with plants and postcards, then invite friends to try their own version.

Prep and Finishes that Make It Shine

01

Sanding Without Tears

Start with 120-grit to knock down gloss, then move to 180 and 220 for a smooth surface. Always sand with the grain, vacuum dust carefully, and wipe with a tack cloth before any primer or paint.
02

Paint, Stain, or Oil?

Paint hides mismatched woods and repairs, stain celebrates grain, while oils enhance warmth with a natural feel. Test on the underside, watch dry times, and choose colors that complement your room’s light and textures.
03

Eco-Friendly Topcoats

Water-based polyurethane offers low odor and quick drying. Hard wax oils give a buttery feel with repairable spots. Look for low-VOC labels, apply thin coats, and lightly sand between layers for a silky, resilient finish.

Fixes and Hardware Swaps for Beginners

Dry-fit pieces first, then apply wood glue sparingly along joints. Clamp evenly, remove squeeze-out with a damp cloth, and let it cure fully. A little patience rewards you with sturdier, longer-lasting results.
Use wood filler for dents and gouges, then sand smooth after drying. For deeper fixes, pair filler with a thin patch of wood. Blend with primer or stainable filler for a seamless repair.
Swap dated knobs for simple brass, ceramic, or leather pulls. Pre-drill to prevent splits, use a template for consistent spacing, and keep old hardware for future experiments. Share your favorite sources in the comments.

Style, Story, and Sharing

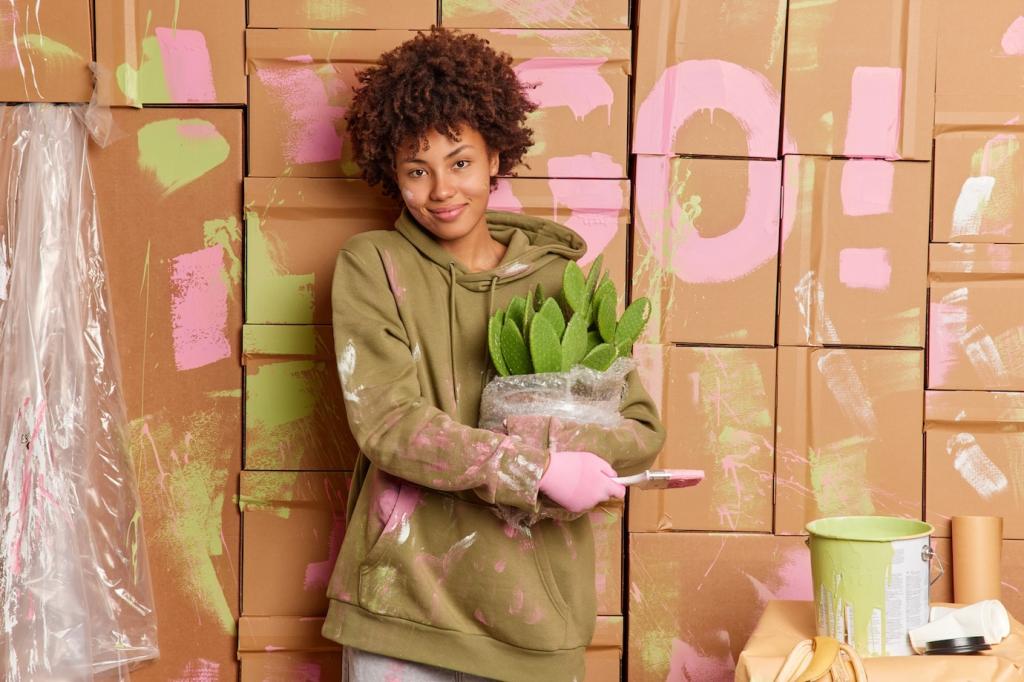
Create a mini mood board with two colors, one wood tone, and a metal finish. Think function first—entry bench, reading corner, plant stand—then add personality. Purposeful choices keep projects focused and satisfying.

Style, Story, and Sharing

Share how you found it, the surprises inside, and the choices you made. A friend once discovered old postcards under a drawer liner; she framed one inside the finished shelf. Stories invite conversation.
Sebastianyii
Privacy Overview

This website uses cookies so that we can provide you with the best user experience possible. Cookie information is stored in your browser and performs functions such as recognising you when you return to our website and helping our team to understand which sections of the website you find most interesting and useful.